From Candy Land to Candy Crush, sugary sweet nostalgia is everywhere! Why not serve up some cookie candies at your next party? Arrange an assortment in your favorite candy dish and watch your guests go wild for the bright colors, familiar shapes and lively patterns! My go-to sugar cookie recipe is perfect for this because it’s easy to use, holds its shape and is not overly sweet. Decorate to imitate your favorite confections or invent your own!


Materials needed: Candy shaped cookie cutters, sugar cookie dough (I use this recipe) prepared, chilled and rolled out, royal icing (see my favorites here), food coloring, plastic or parchment paper piping bags (I use parchment paper), pastry tips #1.5 or #2, small paintbrushes
Step 1: Make the cookies:
Using candy shaped cookie cutters (or use a knife to hand cut your own shapes) cut out cookies and place on parchment lined cookie sheet. Bake at 350°F until the edges are slightly brown, about 9-12 minutes. Let cool.
Step 2: Prepare the Icing:
In separate bowls, slowly add food coloring to uncolored royal icing to get the colors you want to use. Aim for a consistency similar to that of toothpaste by adding small amounts of egg white or water – this will be your piping icing. When not in use, keep bowls covered with a damp cloth so that the icing doesn’t dry out. Add some of each color to individual piping bags fitted with pastry tips. Thin out the remaining icing to the consistency of maple syrup for painting the cookies – this will be your flooding icing. Keep covered, and set aside for later.
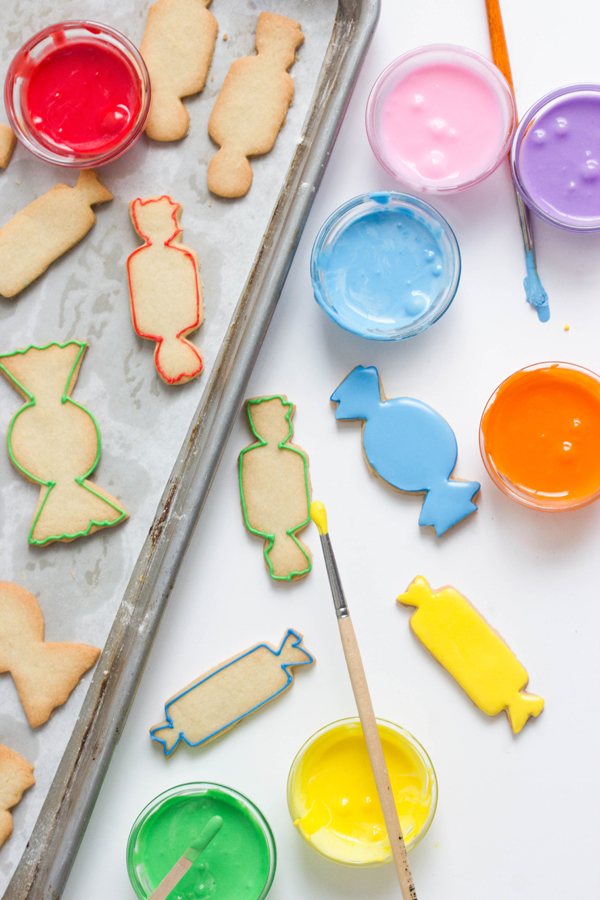
Step 3: Decorate the Cookies:
Use the prepared icing-filled pastry bags to outline the cookies. Let the lines sit for about 5 minutes to dry. Using the flooding icing and a paintbrush, paint in the shapes and let dry for at least an hour if you are in a hurry to decorate. However, I prefer to let the icing harden completely which takes 6-8 hours or overnight. Once the icing is set, use the filled piping bags to add details to each candy.


